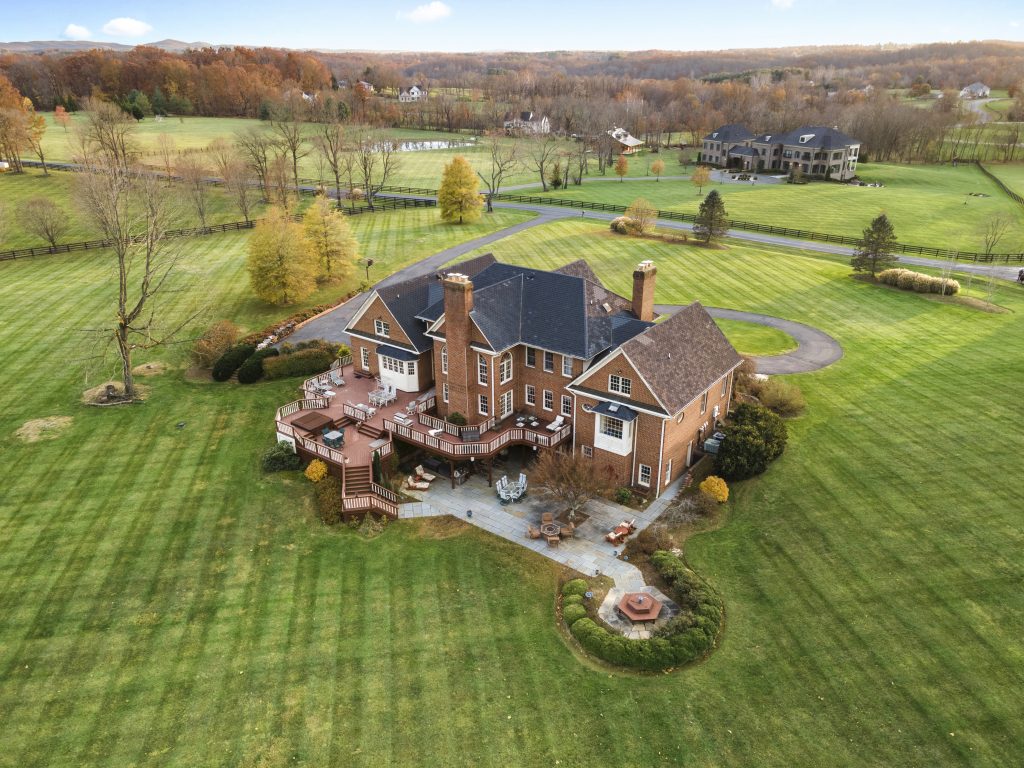
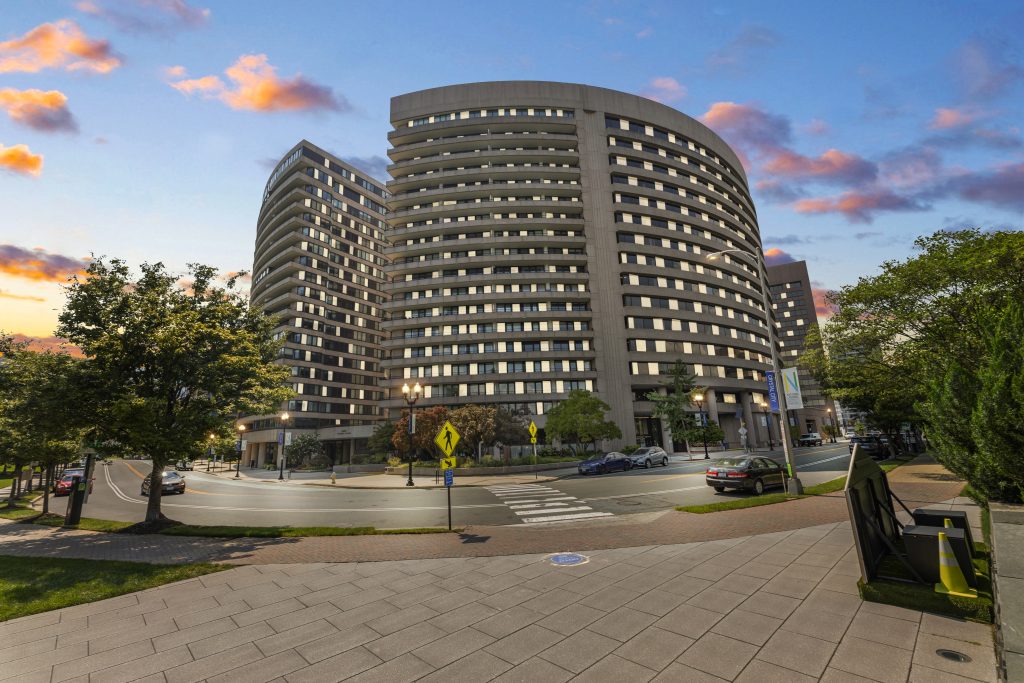
Using Drones for aerial Real estate photography become popular with many realtors and photographers over the past several years. While providing photography enthusiasts with a unique perspective, drone photography offers more versatility for professional use. Thanks to its modern technology, many photographers want to bring their photography to new heights—literally and figuratively. And to achieve stunning, high-quality aerial photos and maximize the use of your drone, here are several drone photography tips you can follow.
Create higher-resolution images with panoramic shots

When it comes to taking photography with drones, a panorama shot is a great choice to make difference for your property. Since the low megapixel count design, almost drone cameras have limited photo resolution. So many photographers choose to take panorama shot as a great choice to get bigger images with more pixels for a wealth of image detail.
If your drone have Panorama Mode function, then you can easily choose it. If not, you can simply take several shots while panning the camera to capture more of a certain scene. Then professional editors can help you to stitch the shots together to create a single, high-quality panoramic image. This technique will allow you to get higher-resolution images and retain important image details. Moreover, you can capture an entire scene that can’t be taken with a single wide-angle shot due to the legal height limit for unmanned aerial vehicles.
If your drone have Panorama Mode function, then you can easily choose it. If not, you can simply take several shots while panning the camera to capture more of a certain scene. Then professional editors can help you to stitch the shots together to create a single, high-quality panoramic image. This technique will allow you to get higher-resolution images and retain important image details. Moreover, you can capture an entire scene that can’t be taken with a single wide-angle shot due to the legal height limit for unmanned aerial vehicles.
Set camera a lower ISO for the best Aerial Photos

ISO is your camera’s sensitivity to light as it pertains to a digital sensor. When it comes to taking aerial photos with drone photography, you should use the lowest ISO. As designed, drone cameras usually have smaller sensors, to reduce the sunlight that directly comes to the camera. If you set the ISO camera which higher than 100, the photos will end up with significant amounts of unwanted grain and noise. It is especially true for the Phantom 3 range. So to get the best result with drone photography in daylight time, you should use a lower ISO.
We recommend setting the lowest possible ISO, which means you have to manually adjust your camera settings to keep your image properly exposed. One tip that you should remember for those who shoot in windy or shady places. It is necessary to open up your aperture or use a slower shutter speed. It will help you to let in more light and be able to maintain the lowest ISO for clean, sharp images.
Take advantage of Auto Exposure Bracketing for Aerial Real Estate Photography

Real estate photography is familiar with HDR exposure brackets of images. So when you take a shoot for a property with a drone, you also can take advantage of auto exposure bracketing. Thanks to its modern design, many drones come with Auto Exposure Bracketing (AEB). It allows you to capture very realistic photos with high dynamic range in one go. So you can shoot many different angles and compositions at different exposures and settings. It can help you save more time and effort when editing them afterward. So editors can simply select the photo with the best exposure levels. Then easier to combine them all into one photo and use the best parts of each shot.
Compared with normal ground-based photography, drone device with auto bracketing feature is useful to save time. Then we have many chances to get correctly exposed shots without having to take multiple test shots.
