

Virtual staging ( 3D Visualizations) one of the latest trend that dominating the real estate field. Do you know that it is powerful technique that allow real estate agents and photographers to save costs, time, effort, money, and much more. So, the preparing for virtual staging process is extremely important. First of all, we should take the right photos for your listing.
This right perfect photo will ensure to help you sell your home fast. Here are the top tips to help you determine how to get the right photos for virtual staging.
Take top-quality photos
Virtual Staging a photo is one of the most difficult and expensive editing services that agents spend to attract more potential customers. First of all, in order to make your home look real and compelling, you should choose the best image from your album with high-resolution pictures.
⦁ Normally, professional photographers choose to shoot pictures in a RAW file format. This kind provides the editors to create a realistic-looking space.
⦁ Choose the best images from your property album to create a compelling room for your potential customers
⦁ Outsourcing Virtual Staging photos from a professional partner to get the high-end result.
2. Use high dynamic range (HDR) photo
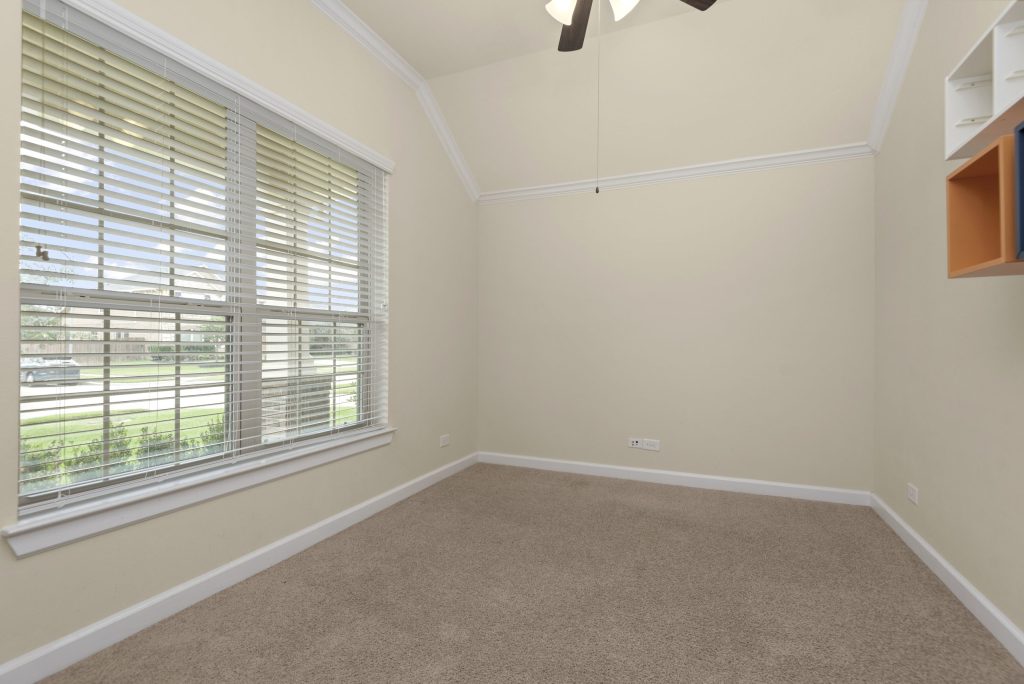
Before Virtual Staging
After Virtual Staging

Normally, professional photographers will use HDR images to get the best details of the room and handle the wide range of lighting. To deal with the different lighting, you should use using a DSLR (Digital Single Lens Reflex) camera. It not only gives the best auto exposure bracketing feature images but also has the ability to handle such lighting.
Even if it is an empty room for Virtual Staging, an HDR image did a great job of performing a realistic room. With high-quality images, they will have more chances to bring out the room’s potential, bringing it to its best light.
3. Use Wide Angle Lens
Angle lens also affects the realism of the photo. And you should understand that you have to put the furniture in this room. So the wide-angle lens plays an important role in the success of the Virtual Staging process.
If you use telephoto angle lens, it should be warped dimensions of your images.If you opt for a larger lens, it may result in photos where the space will look bigger than it is in real life. And The ideal lens to use here would be a 18mm lens. And so, logically, anything tighter than 18mm will make the room look smaller.
4. Focus on the room in your photo
There are unspoken rules when it comes to shooting photos for virtual staging.
⦁ First of all, you should let the “dead space” in a room behind and try to capture as much of the room as possible in each shot. Do not shoot from below or you’ll have too much ceiling. As you know, the priority is the floor because it is gives you more space to create a cozy room with the furniture for your dream property.
⦁ Do not include much of the corner in the photo. Somethings you need are the most prominent features of the space such as a fireplace, windows, built-in shelves, etc. depending on the room you choose to stage.
5. Shoot from the Corner
One more tip that you may need for preparing Virtual Staging photos is to take a photo from the corner of the room. You may not know that corners will give you the best orientation for virtual staging. Truth be told, corners provide wonderful vanishing points. When it comes to arranging the furniture virtually, this kind of image gives us chance to get great depth indicators and create the best framework.
6. Take Virtual Staging photo on golden Hours
Depending on the room direction, you can choose The “golden hour” to get the best shots. Normally, professional photographers choose to shoot in the morning, from 6-9 am which is ideal time. Between these times, the sun is not as high as the sky and the light is not as bright. Or twilight around 4-7 pm is the best time to take sunset photos. It gives you more chances to stand out from competitors.
Moreover, you should be wary of windows that face directly east or west. Sunlight can shine directly through those windows, which creates harsh shadows or overexposes the image, washing away some of the key details. Here’s a golden hour calculator so you can find out exactly when the golden hour is going to be in your area.
Moreover, you should be wary of windows that face directly east or west. Sunlight can shine directly through those windows, which creates harsh shadows or overexposes the image, washing away some of the key details. Here’s a golden hour calculator so you can find out exactly when the golden hour is going to be in your area.