
Real estate Flambient photography soon becomes one of the most popular types that provides a great look for your property. There are many advantages when it comes to taking real estate flambient photography such as performing the accurate colors and the most detailed features of the property. Moreover, thanks to these brackets of images, it will give potential customers the cozy home feeling that they are searching for. But in order to get those amazing images, homeowners and photographers have to put much time and effort into them. Follow us to see how much you can do to get the perfect album for your property.
III – Take a perfect window shot for Real Estate Flambient Photography
A window pull is one of the most favorite style that all homeowners want to showcase to the potential buyers. Because everyone want to see the beautiful outdoor scene seeing through the window, it will create the perfect house at their eyes. But in order to do that, it requires much time and effort on shooting and adjust the flash for this shoot. Professional photographers are typically use Real Estate flambient photography to deal with multi light source in this window shoot. Let Nice Color share with you some of tips that can help you to take better window pull.
WIndow Shot of Real Estate Flambient Photography refers to a technique where you take a photo that is metered for the outside of the window and combines a flash to overexpose the window borders.
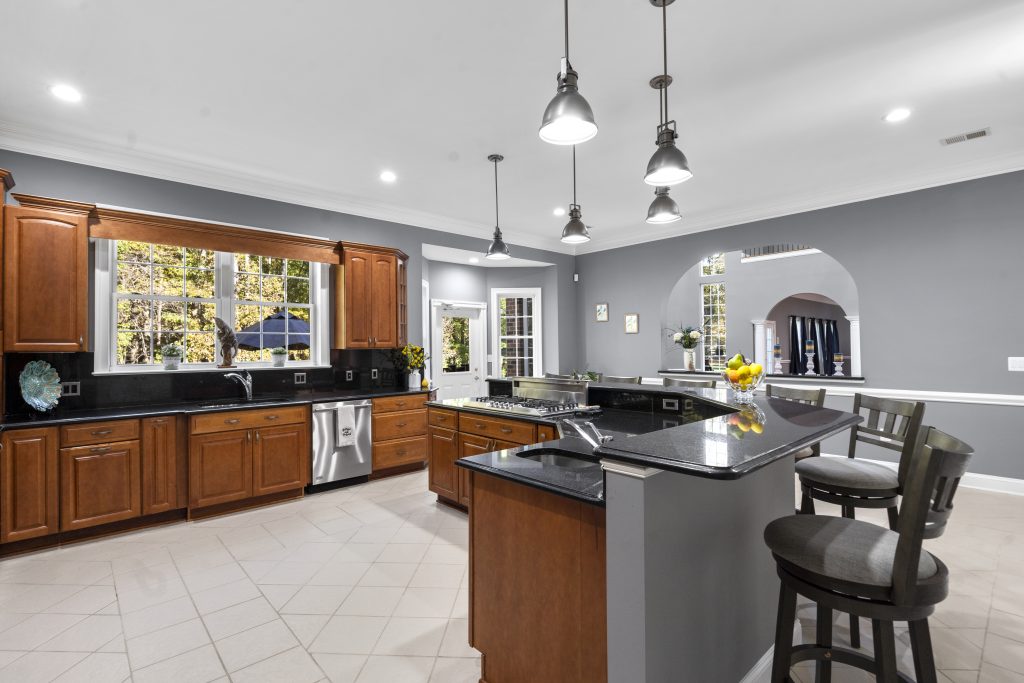
Flambient photography is the result of the combining a regular photograph with multiple flash images to create an image that has realistic color and less dark areas. Our aim of this window shot is to make correctly rooms appear evenly lit, dark hallways become brighter. Finally your property looks far more appealing and can attract more potential customers.
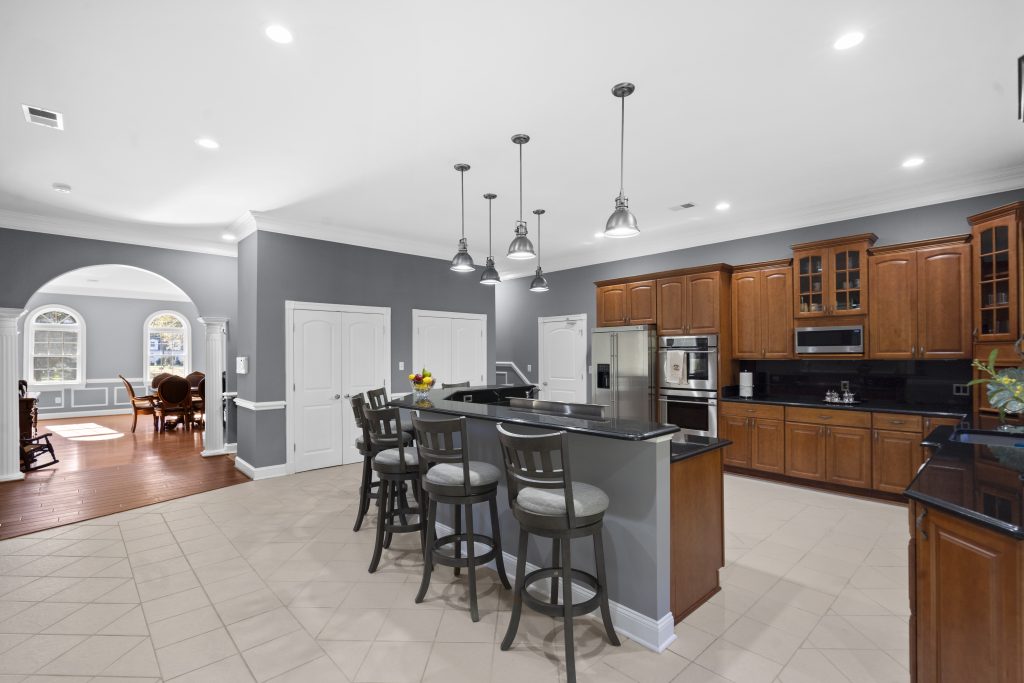
For example with a beautiful dining room. Photographer has to deal with the issue that photographing directly into the bright window. In this circumstance, this creates extreme shadows and dark surfaces on the furniture and walls. Moreover, the walls are painted multiple colors and the chandelier has warm light bulbs installed for the atmosphere. By using the combining a flash with the ambient light of the room, these issues can be solved quickly.
The extra special advantage of a flambient shot is that it does not require any additional equipment for the shooting. Professional photographers said that they are cope with much challenges with Flambient photography because they has to change the camera setting for each exposure of the shot. The most skillful thing is the how much flash you can put for your scene. Normally, they will set the camera as manual mode f 7.1, ISO 320, exposure 1/80. Your exposure time can vary depending on how bright it is outside. One more note you should do is that : before you can take a perfect shoot, test it first. There are many ways for you to check it such as by your histogram, or take a photo and check the on-screen preview.
Note for taking Real Estate Flambient photography window shot
- First of all, bear in mind to take shoot thrice for the window. By taking the 3-5 exposures, you can easily deal with many lighting sources coming through the window. Because then editors can help you to blend them together and get a perfect final photo.
- One tip to do that is that, you have to point a high-powered flash directly at the window frames. With the camera setting, you can set your flash to anywhere from a ¼ to 1/16 power. That’s the reason why Flambient method always need a professional photographers who has a great sense of lights. Based on this natural light and the powerful flash, you can decide how much flash you should use, so you can find your own sweet spot.
- Take as much angles as you can to test the photo first. Your aim is putting your flash at the window frames and take the shot. Then you should experiment with shooting images at varied angles.
- You can choose to take a fourth shot that does not use a flash. This is the “repair” shot. When you aim your flash at the window you can create hot spots on the glass because of the flash reflection. This “flashless” photo allows you to “repair” that hot spot by layering in and masking this shot. Bear in mind that not change the camera exposure setting at all.