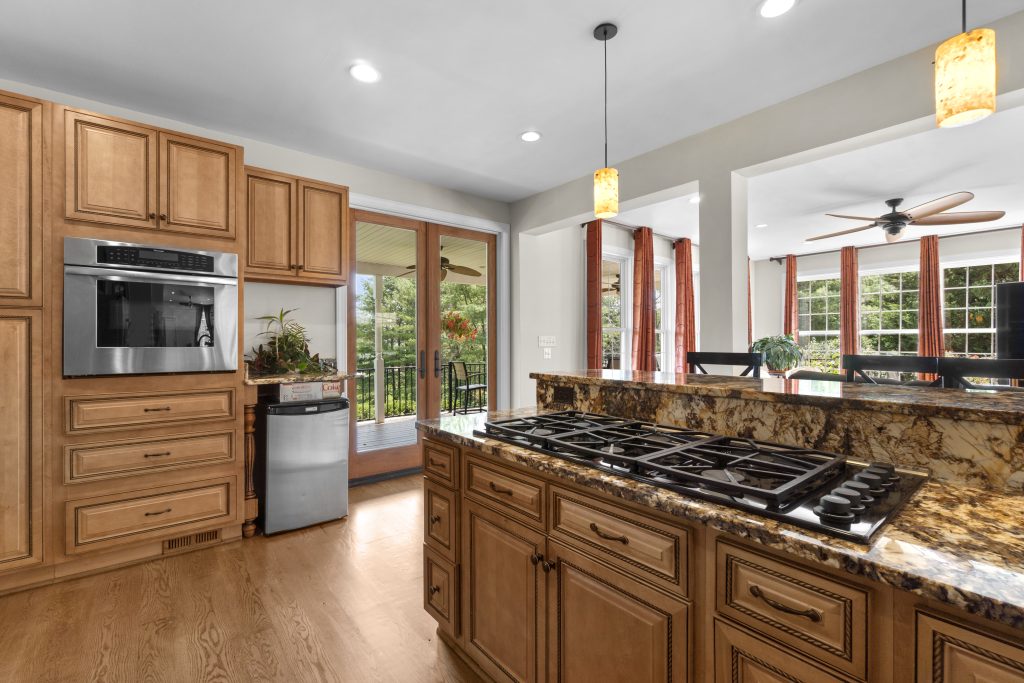
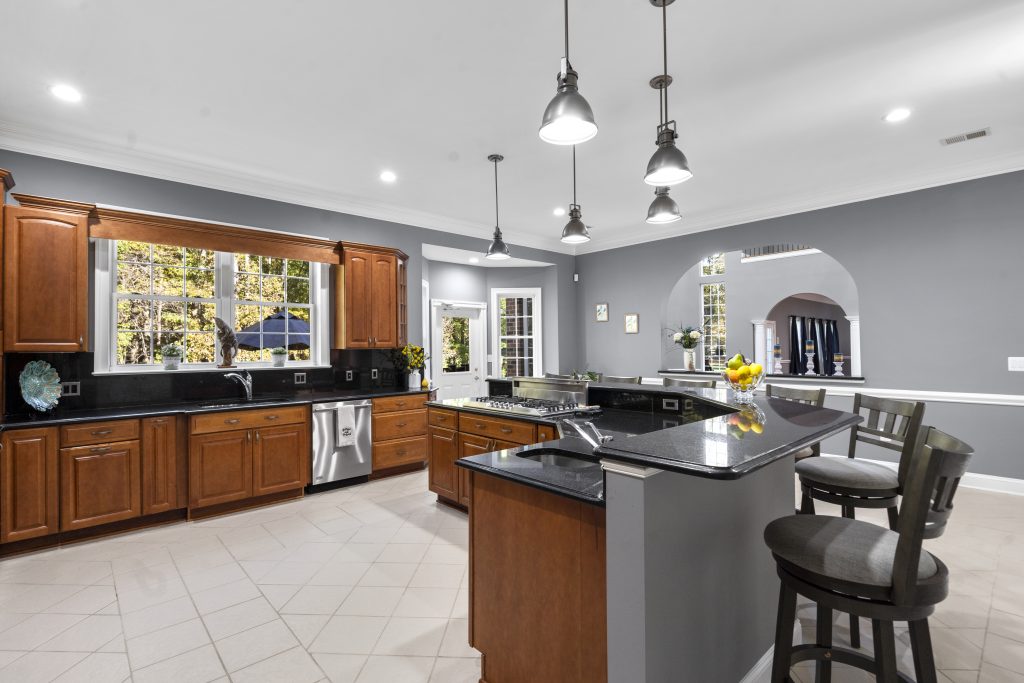
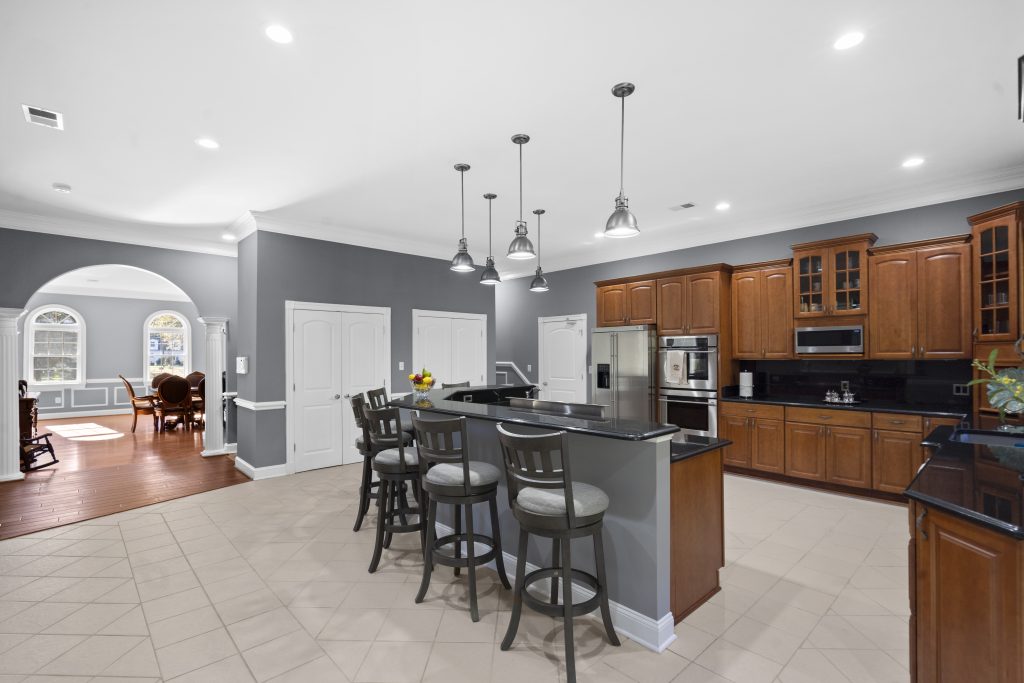
There are many professional software that can support you in editing your real estate HDR photos. Such as some popular software like Photoshop, and Adobe Lightroom.
Editors choose to use LightRoom for its well-equipped with many helpful features. As it is a cloud-based photo editing platform, it allows you to do all the tasks you need to create a perfect HDR photo.
Benefits of using Lightroom:
- Lightroom is a professional tool when it comes to image editing. It can provide you a convenient solution for you to strengthen and edit images using external features. In addition, lightroom helps users modify and manipulate images that are based on the features and properties of images.
- This advanced tool help users to save more time and effort. Since it has the organizational features, editors can organize and manage all the photos in bulk faster and easier. The easy to use features helf all the editors, even newbies, can manage the tool and make the perfect editing.
- When it comes to retouching images, Lightroom is up to the job. It can help you to improve all the standard things. Including color tone, and color balance, removing the red-eye effect, cropping, filters, etc.
- Lightroom is advanced tool that support almost all types of format images from JPEG, PSD, PNG, to TIFF. Especially, you also can edit the raw images with the high-quality final outputs.
How to work with LightRoom for your Real estate HDR photos?

As one of the top editing software that offers a wide range of functions, if you want to use it as an expertise, you can follow these steps.
1. Merge Multiple bracket of Photos
Lightroom is designed to allow users to work on multiple images simultaneously. Its workflow is easygoing and user-friendly. Such as, it features with many preset tools like Auto Align, Auto Tone and de-ghosting. That can help you to save more time in working with brackets of HDR images.
Auto Align: If the images move from shot to shot, Auto Align will make them uniform.
Auto Tone: It can save you more effort with the option of setting tone before editing the big number of photos.
De-ghosting: While clicking pictures for bracketing, if there are moving objects, e.g., a bird in the sky, then after merging, you can end up with a semi-transparent ghost of a bird in different spots across the sky. To fix this, Lightroom has a de-ghosting option, namely None, Low, Medium, and High. Start with low to fix minor movements in the picture, then move on to the others if necessary.
2. Editing Exposure

Editing the great exposure is the priority when creating perfect HDR photos for your property listing. So it is rather important to get the perfect light for the photos.
As you may know, Exposure is the amount of light that reaches your camera sensor. The exposure range will be broader with HDR photos because several images clicked in various exposures are merged. In the Develop section, drag the exposure bar and choose a number that strikes a midpoint between the light and dark points.
3. White and Black Balance
There are two ways you can use to balance the White and black for your HDR photos. Lightroom allows you to double click on the terms white and black to automatically set them. Otherwise, you can use hand-blending technique to adjust the whites and blacks manually to bring out the HDR in photos.
4. Editing Clarity

The Lightroom Clarity slider increases midtone contrast. It is not like the sharpness where you can increases the contrast between dark and light tones. It is one of the most advantage of using Lightroom to emphasize the texture and enhance the detailed texture locally for your real estate HDR photos.
5. Vibrance
Beautiful and vibrant skies will enhance your real estate photography and hopefully accelerate sales.
If your image is shot outdoors and you have a washed-out sky, you can click on Luminance and drag the Blue slider to the left in order to bring the color out.
