
Aerial Real Estate Photography plays an important role in the success of your marketing campaigns. So that realtors and photographers are always busy finding new ways to perform your property effectively. Taken alongside the photos, videos from drones can make differentiate for your property listing. Today, NiceColor will share with you the following drone video shots that can further help to set the scene of a property. Moreover, it gives your real estate footage a cinematic and professional look for your aerial real estate photography stradegy.
Sweeping Shot
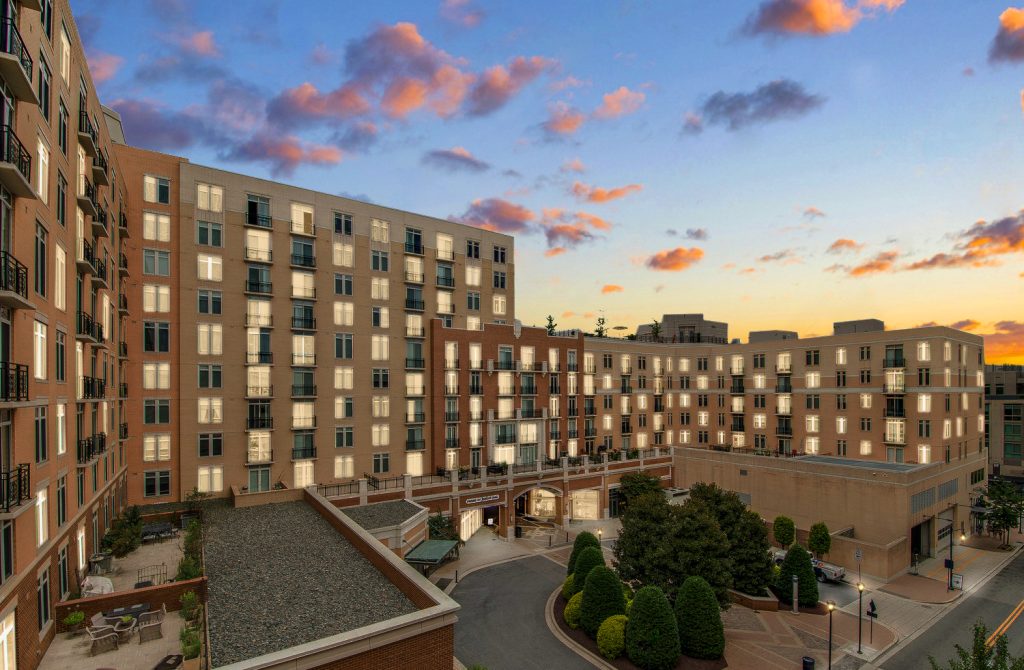
As you may know about a Cable Slider Pan, it will helps you to easily imagine about this kind of shot. It requires you to consider the straitght path that slides along the longest side of the property. Follow this path, you can control the drone gently pan the camera focusing or tracking along the center axis of the house. Bear in mind that depend on the style of the house, you should identify the path first to follow it with the same motion. It is may challenge with some photographers because it requires to pan softly with no awkward stutters or sharp movements. So we recommend you should spend time to explore the house and practice with it several time before taking the real video.
One tip that you may need is to set the drone to autonomously fly, by turning on Tripod or Cinema mode on your DJI.
Outdoor-to-Indoor Shot for a Professional Aerial Real Estate Photography
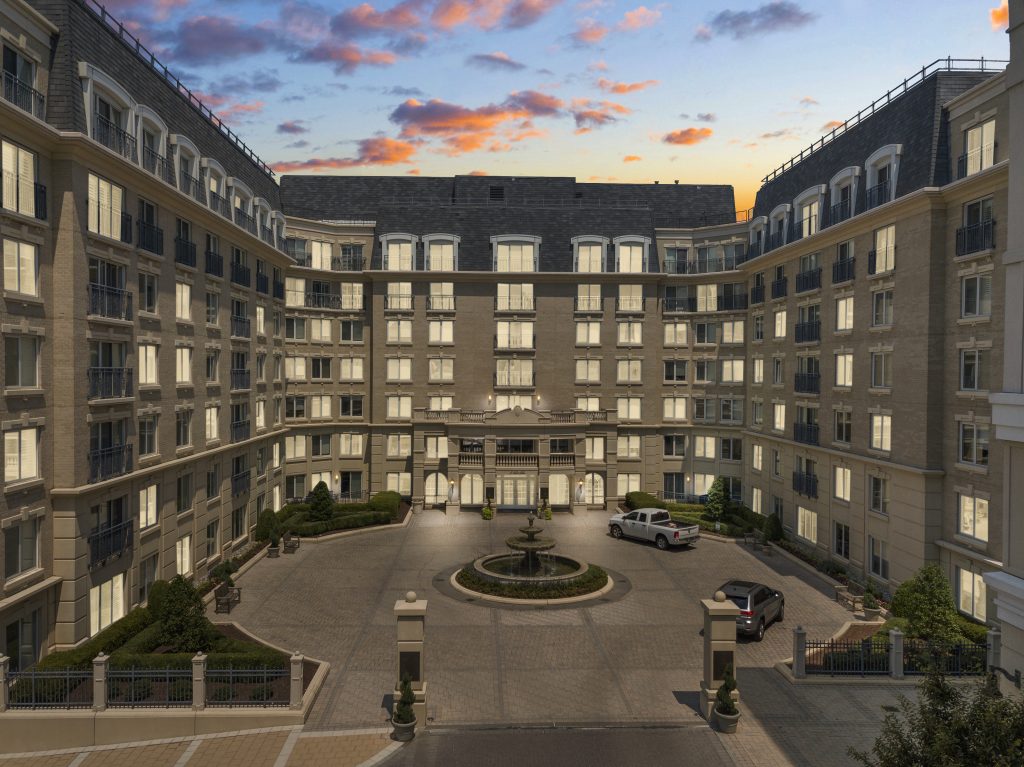
One more addition shot that you may need to become a professional drone flyer. The idea is start with the camera slowly approaching the building. And gently swooping into the inside of the property, through a large opening, like a balcony window or porch entrance. Then continues the shot or transitions into indoor walk-through footage of the property.
However, you may have some problems during the interior shot. So for safety reasons, you can divide it into two parts. That is, an outdoor shot leading up to the opening; and an indoor shot that starts from right at the opening. So that editor can help you to stitch the two shots together in the post-processing task.
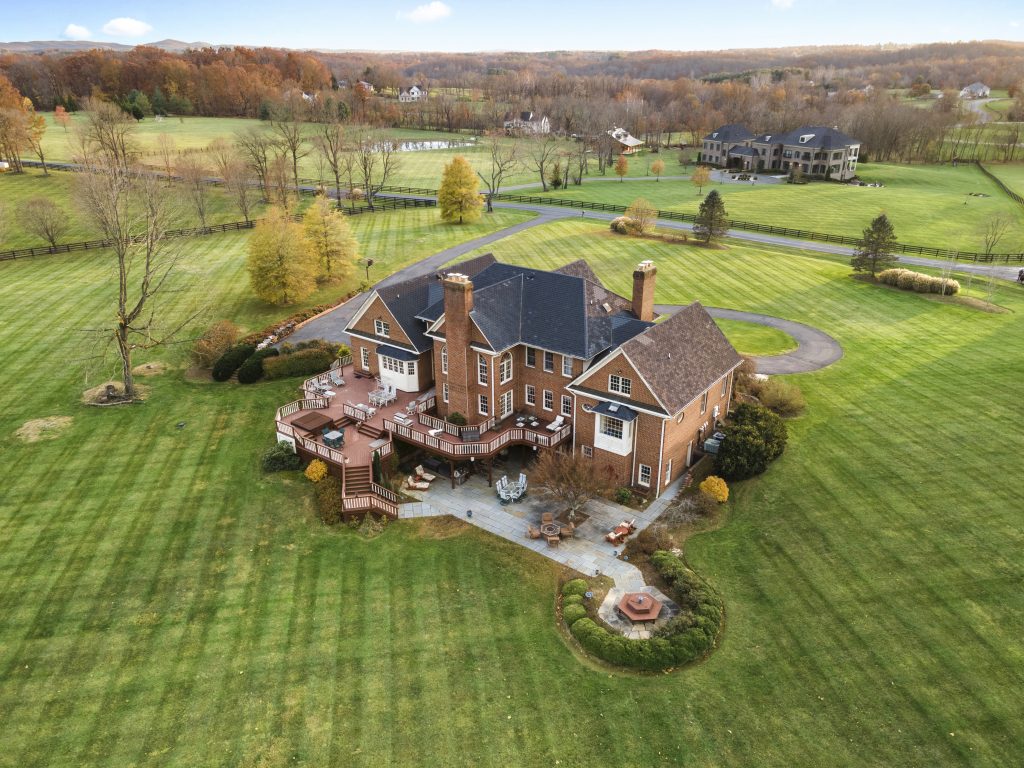
Many professional photographers choose to use this shot because it is the best way to show off large and luxurious properties. It also offer a justly unique viewpoint for potential home buyers to explore both interior and exterior of the house. Although, remember to toggle-off all obstacle avoidance settings, when attempting this shot.
Standard Techniques for Aerial Real Estate Photography
So in order to follow the techniques involved in taking standard real estate photo and video shoots, today NiceColor will share with you some basic rules to capturing industry-level drone content:
- Preparing the House: Homeowners should spend time to decorate the house with your specific style. Moreover, remember to remove visually distracting items to avoid tedious editing work.
- Take advantage of natural lighting : Choose the best time to fly the drone. We recommended shooting between noon and 4PM.
- Practice first to get the suitable angles. Then Take time to shoot as Many Shots and Angles as Possible: ensure you get that perfect shot.
- Shoot in RAW: Always choose Raw file for more flexibility when it is time to edit.
- Plan ahead for the shooting. But the Weather is crucially important. Plan accordingly, and aim to shoot on clear days.
- Checking the property first to understand about it. Try to bring out the highlights features. Focus more time on the stand-out features on the property
- Rely on the Basics; include diagonals, contrast, color, the rule of thirds, and leading lines.
- Utilize Intelligent Flight Modes: Eliminates jerkiness, and delivers buttery smooth footage